Make Your Bed! 10 Steps For Prepping Your Fall/Winter Garden
A messy bedroom can overcomplicate so many little things in our lives, and in a way, a messy garden bed can have the same effect on our plants! So, with that outlook, it’s important to maintain cleanliness in the garden whenever possible while also making time for at least two deep cleans per year: one in spring, and one in autumn!
While cleaning our bedrooms usually involves sorting through laundry and gathering the 37 half-full cups of water that have accumulated in a surprisingly short time, cleaning the garden bed looks a little different. Here are the ten steps you should follow to make sure you’ve cleaned it top to bottom, so your winter plants can settle into their new home comfortably.
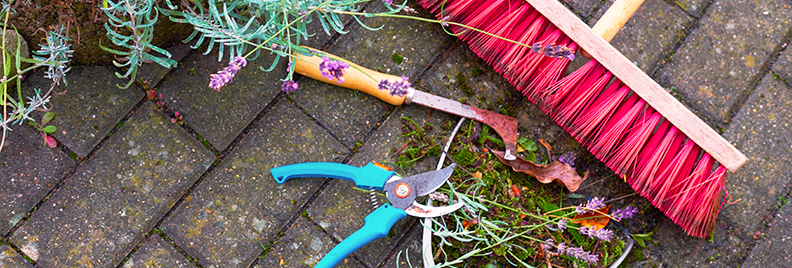
Clear Out Debris
Sticks and stems, old leaves, and any other junk that’s built up over the summer should be removed and disposed of. Leaving piles of debris can create a perfect environment for bacteria, fungi, or other garden pests to hide out, so keeping it clean will help protect your winter plants.
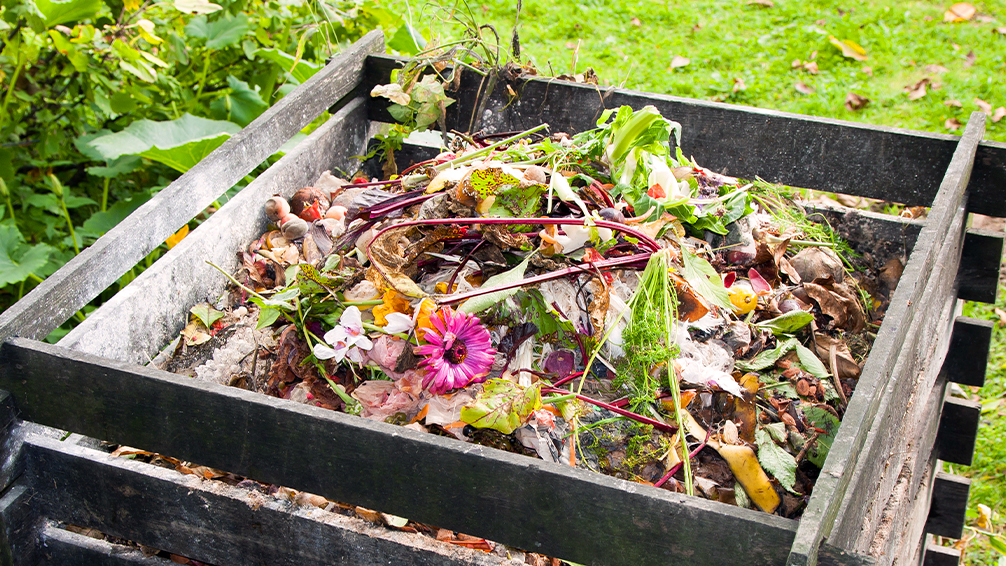
If you’ve got a compost bin, you can toss in most plant material, provided it isn’t diseased, treated with chemicals, an invasive weed, or full of seeds. That way, you can get a big heap of fresh, nutrient-rich compost to use in your garden later in the season, at no cost to you!
Safely Dispose Of Any Diseased Plant Parts
When you’re trimming off and throwing out diseased plant parts, it’s important to remember that you’re dealing with bacteria and fungi that spread through tiny spores. These spores can travel through the air and multiply quickly, so you don’t want to leave diseased plant parts in the yard. Instead, dispose of them safely in an airtight garbage bag, and toss ‘em in the trash.
When removing diseased leaves and stems from plants, always bring a rag and some isopropyl alcohol to sanitize your pruning shears between each cut. This will prevent bacteria from spreading throughout the plant and will help to keep it isolated to that one spot. After removing the damaged parts, to prevent fungi from returning, you can pour a few ounces of apple cider vinegar into a large spray bottle filled with water and generously spray the leaves of your plants for a few days in a row.
Remove All Annuals
Any spent annual flowers or veggie plants no longer producing food should be pulled up and tossed. You don’t necessarily need to wait until they start to wilt—once they’re on the downswing, you can just pull them up, so they don’t continue soaking up nutrients from the soil. Make sure you get all the leftover roots that are hiding deep in the soil! Again, so long as they are disease-free and aren’t full of seeds, you can toss those bad boys in the compost bin.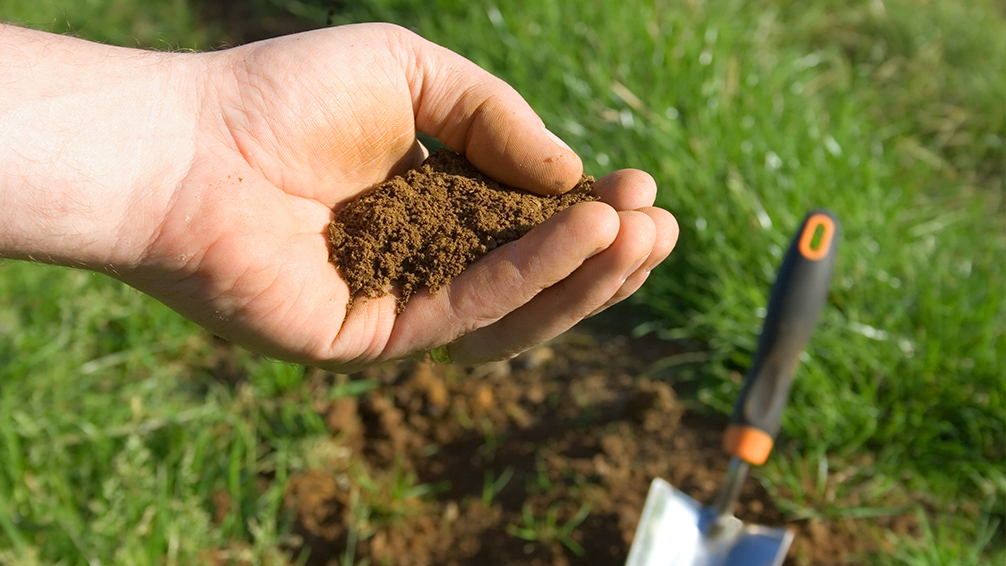
Do A Soil Test
Soil tests can tell us a lot about the composition of our soil, in terms of pH balance and nutrient levels. If you plan on growing lots of plants, especially winter vegetables, you want to make sure the soil isn’t totally depleted after summer, or else this next round of plants won’t look so stellar.
Conduct a soil test, and see if anything needs to be amended. If the pH is super low, you can add lime to reduce acidity. If it’s super high, you can add some peat moss or elemental sulfur. If you’re running low on key nutrients like phosphorus, potassium, or nitrogen, you can add in some fertilizer to help get those numbers up.
Till And Loosen The Soil
Loose, aerated soil is so important for your plants to thrive! Not only will compacted soil stunt the growth of root vegetables like carrots, but it will also lead to poor moisture drainage. When soil isn’t loose, water won’t have anywhere to drain and can start to collect, remaining stagnant around your plants’ roots. This can lead to root rot, which, more often than not, is a death sentence to your poor innocent plants!
Add Some Compost
Once the soil is all loosey-goosey, mix in some Leaf Mold compost! There’s a reason why they call it black gold—this stuff is so valuable! It brings so much healthy bacteria and nutrients into the soil for your plants to feed on. Plus, if you’re planning on planting any spring bulbs, all that compost will help to feed them as they “sleep” over the winter, preparing to emerge in spring with a burst of color!
Feed Your Soil And Plants
Give everything a healthy dose of MicroLife 6-2-4 to replenish the soil and feed the plants after a long hot summer. This will help everything perk up and ensure peak performance next spring.
Remove Stakes, Tomato Cages And Trellises
Any old equipment or structures for your plants that are no longer needed can be taken out and stored away for the winter. Remember to sanitize them thoroughly before storing them! Bacterial spores and plant diseases can linger for a lot longer than you might expect, and you don’t want to introduce any of those nasties into your garden next spring.
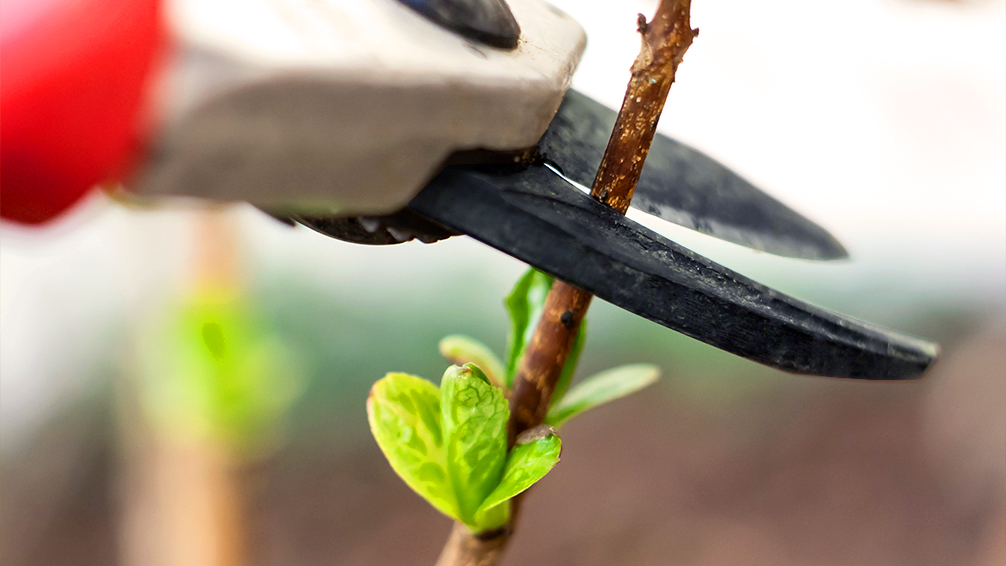
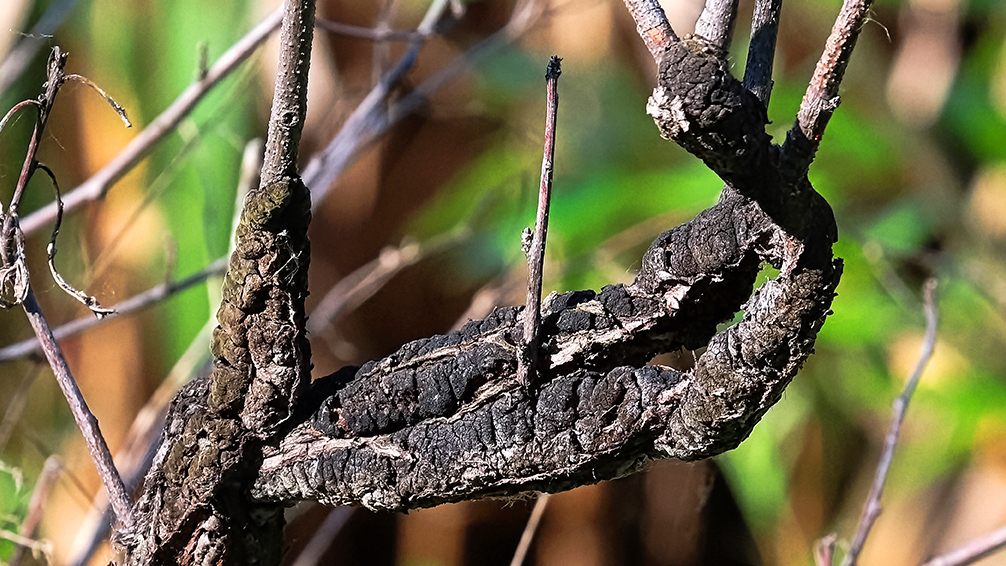
Prune Shrubs That Bloom On Old Wood
Some shrubs bloom on new wood, meaning their stems develop more in the spring, and the blossoms will follow. However, the shrubs that bloom on old wood develop flowers on last year’s growth. By that logic, you’ll want to prune the old wood shrubs in the autumn after they’ve finished blooming because if you prune them in spring, you’ll end up snipping off all the flower buds that are about to emerge. Some common examples of shrubs that bloom on old wood are:
- Azaleas
- Hydrangeas
- Viburnum
Certain shrubs like hydrangeas and spirea may bloom on new wood or old wood, depending on your chosen variety, so if you aren’t entirely certain when to prune your shrubs, call us at the shop, and one of our experts can help!
Apply Fresh Mulch
If you had an old layer of mulch spread across the garden that’s looking a bit grody, you can rake it up and replace it with some new stuff. If you haven’t used mulch before, what are you waiting for?! This stuff is the bomb dot com. Really, it helps maintain moisture levels so you can water less often, and it helps prevent weed growth, so you’ll spend way less time yanking them out of the ground.
Look for a natural mulch material like pine bark, and if you want to opt for a colored variety, make sure you get one that’s been coated with an all-natural, chemical-free dye. Over time, mulch will naturally break down and deliver nutrients to the soil, but if it’s full of chemical dyes, that won’t bode well for your plants.

Are any of your garden tools and supplies looking a bit worse for wear after this summer’s harvest? Visit Plants For All Seasons and treat yourself to some new garden gadgets, so you can simplify your process and still enjoy all the benefits of a lush, green garden. We’ve got home delivery and curbside pickup options available if needed!