Camellias: How To Grow These Fabulous Flowers
Caring For Camellias: The Basics
Our Favourite Camellia Varieties
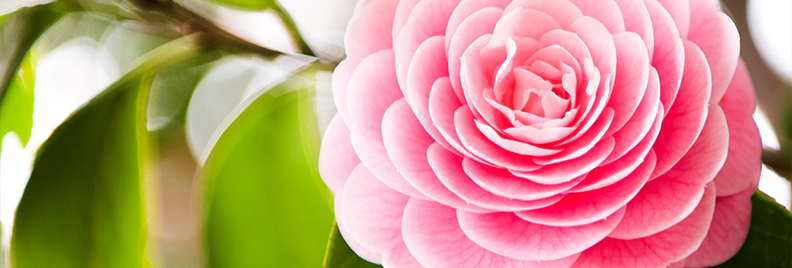
Camellias are a much-loved evergreen plant that can be grown in the form of a shrub or tree. There’s just something so oddly satisfying about their perfectly spiraled petals. If you’re wanting to grow camellias in Houston, you’re in luck, because these gorgeous flowers are perfect for our warm climate. However, they tend to blossom in the cooler temperatures of winter. This means that once your annuals and exotic tropical flowers have finished flowering for the summer, your camellias will deliver stunning color all through the cooler months, so you’ll never be without beautiful flowers to admire in your yard. Here’s how to start growing your own camellia plants, so your winter garden will never be boring.
Camellias prefer partial, dappled shade as opposed to bright, direct sunlight, so your best bet is to plant them up against a wall that provides a bit of shade from the sun for a good chunk of the day. Alternately, if you have a yard that’s got plenty of trees in it, your camellias will love a cozy spot underneath a canopy of tree foliage. Plant them in early fall or in the spring — this will give them sufficient time to get their roots established before it starts to get chilly out.
As for soil quality, you’re going to want to do a pH test before planting. Camellias don’t like alkaline soil and prefer things to be more on the acidic side. Ideally, you’ll want the pH to be between 5.5 and 6.5, so if it’s 7 or higher, you’d be wise to add in some elemental sulfur. Good drainage is also a must, so if the soil seems a bit packed down, loosen it up and add in some Leaf Mold Compost. Your camellias will thank you later.
To plant camellias, you’ll have to dig a hole that’s twice as wide as the root ball, but just as wide. Then, take some of that dug up dirt and refill the hole a little bit (about 2 or 3 inches). Press that soil down, and then gently position your camellia in place. Once you fill up the surrounding space with soil, the top of the root ball should be sticking out about 3 or 4 inches from the ground. They really don’t like being planted deeply, so the root ball exposure is crucial. You can, however, add a 1-inch layer of mulch across the soil surface, and this will help to regulate soil temperature and moisture, while also preventing weeds.
Caring For Camellias: The Basics
As with most broad-leafed shrubs, mature camellias don’t require much extra water — they usually get enough from the rain, unless we’re experiencing a long dry spell. That being said, it takes about 3 years for camellias to become fully established, and it’s especially important to water them frequently during those first few months after planting. However, since they really aren’t into soggy soil, you’ll want to monitor the soil drainage and make sure you aren’t overdoing it.
You’ll only need to fertilize your camellias once or twice a year (woohoo!) but you’ll want to make sure you water them the day before you feed them. The first feeding should be in the spring after their flowers have withered and dropped off. Later, if you notice your camellias are looking a little limp and sparse, or if the leaves aren’t quite as green and glossy as usual, a second feeding should help the cause. Use an acid-forming fertilizer specifically formulated for camellias or azaleas — we have some here at Plants for All Seasons that should work just fine!
Prune camellias after the flowers have dropped in the spring. Nip off any wood that looks dead or weak, and if any of the branches look a bit too cramped together, thin them out so there’s ample room for more flowers to grow. If you want your camellia plant to take on more of a tree shape, shorten the lower branches, whereas if you want a bushier shrub, trim the higher branches back. To maximize the number of flowers that grow the following winter, try to trim the stems back at their “scar,” or the spot where the previous year’s growth ended. Just check the branch until you see a distinct change in texture — the scar will be thicker and kind of rough, with a difference in color and texture from the tip of the branch. This will usually prompt the branch to produce three or four new buds, so the flowers will be in high supply!
Our Favorite Camellia Varieties
These stunning camellias are sure to turn heads if you add them to your landscape. Their bright, bushy flowers are totally swoon-worthy, and they range from delicate pastels to vivid jewel tones, so you’ll definitely find one that suits your preferred color palette.
- Camellia “Bob Hope”: Cherry red, ruffled flowers with lemon yellow stamens.
- Camellia Sasanqua “Pink Snow”: Spiralling candy pink flowers with discreet stamens.
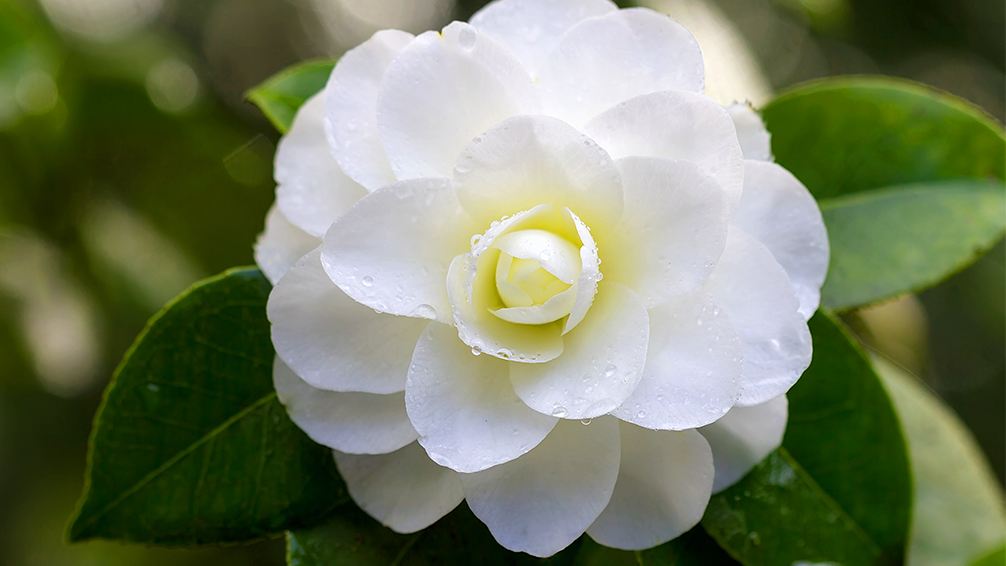
- Camellia “Sinensis Tea”: Delicate white flowers with chubby yellow clustered stamens.
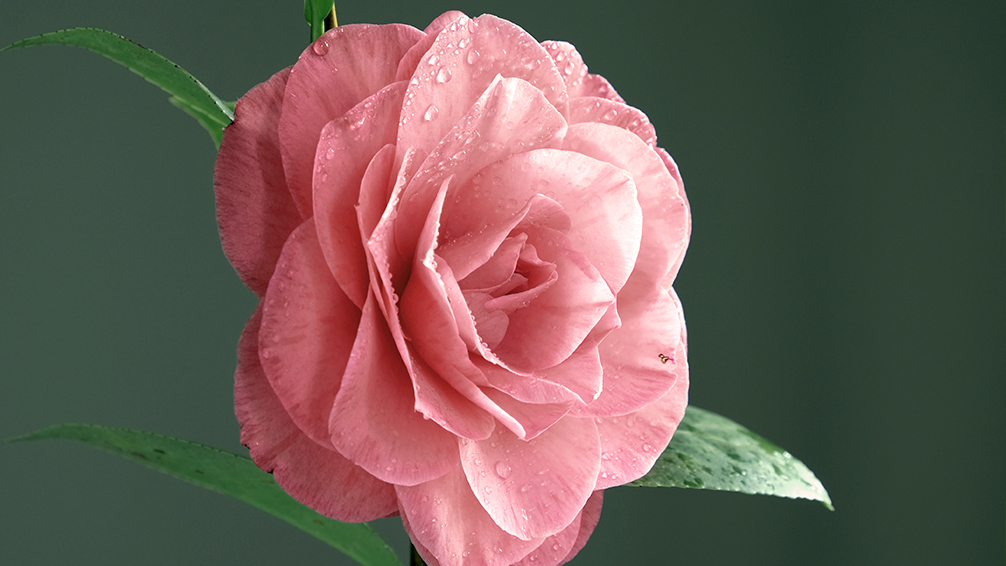
- “Cotton Candy” Camellia: Ruffled, icy pink flowers with soft yellow stamens.
- “Shi Shi Gashira” Camellia: Compact bushy habit, semi double hot pink flowers with golden yellow centers.

There are so many incredible varieties for sale at Plants for All Seasons, so don’t hesitate to come down and browse our full selection so you can find the best camellias for your landscape. You’ll love the way an evergreen winter blooming camellia breathes new life into your landscape—not just during the cooler months, but all year ’round!